Table of contents
Open Table of contents
Alloy! On CMS 12!
If you’ve worked with Optimizely Content Cloud for awhile, two things are probably true:
- You still sometimes call it Episerver CMS (and if it’s been a longer while, you write it as EPiServer CMS)
- You’ve seen the Alloy demo site
Until recently with CMS 12, starting a new site meant either an empty site, or a Foundation site. However, last Friday, Optimizely quietly released a CMS12 version of the Alloy sample site.
Want to get your own CMS12 Alloy site running locally? Follow the steps below!
Prereqs
.NET SDK 5+ SQL Server 2016 Express LocalDB (or later)
Setup
First, set up your development environment — install the Episerver Templates and the Episerver CLI Tool.
Note: if it’s been awhile since you installed the CLI Tool, it might be worthwhile to make sure you’re on the latest version:
dotnet tool update EPiServer.Net.Cli --global --add-source https://nuget.optimizely.com/feed/packages.svc/Install the Alloy templates: in your command-line of choice, run the following command to install the template package (you can look up the latest version number here):
dotnet new --install EPiServer.Templates::1.0.0Create your project folder, and change to that directory:
mkdir projectname

cd projectname
Create a new CMS 12 site with the Alloy MVC templates included:
dotnet new epi-alloy-mvc --name projectNameCreate a new, empty database:
dotnet-episerver create-cms-database ProjectName.csproj -S . -EAt this point, you have everything you need to run the site.
Build the site (technically, this step can be skipped, because the run command will trigger a build if needed, but I prefer to do the build separately — easier to identify issues):
dotnet buildFinally, run the site:
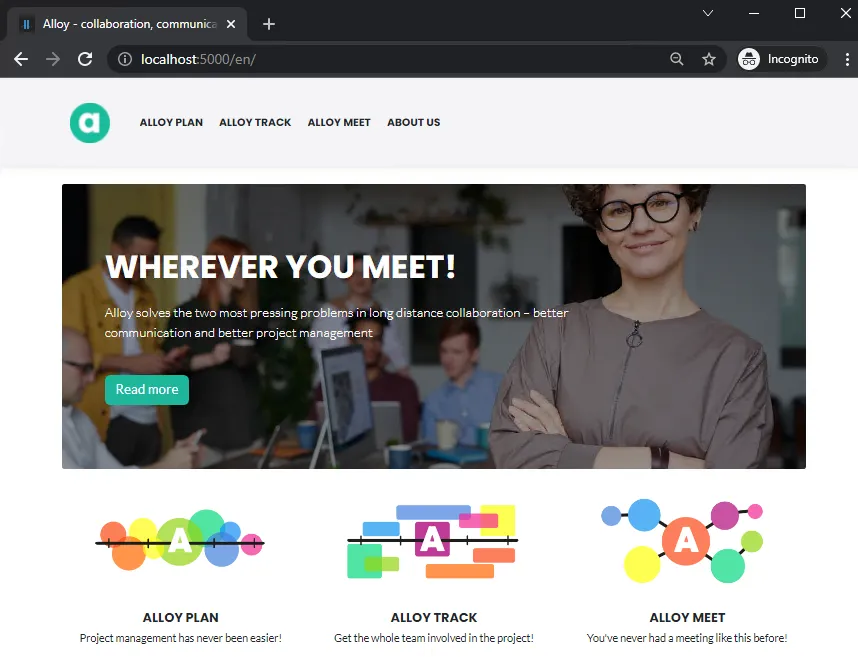
dotnet runIf there are no errors in the console, the site should now be up, and can be accessed in your web browser at: https://localhost:5000/
Note: want to change the port, or run on http instead of https? Before running the site, update the “applicationUrl” property in the file projectName\Properties\launchSettings.json .
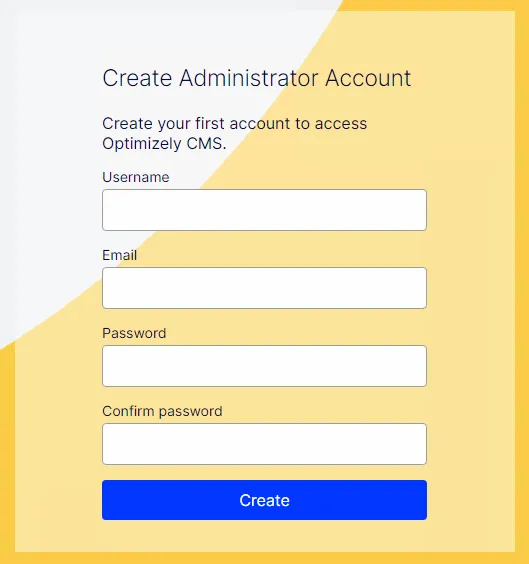
The first time you access the site, it should prompt you to create an admin user.
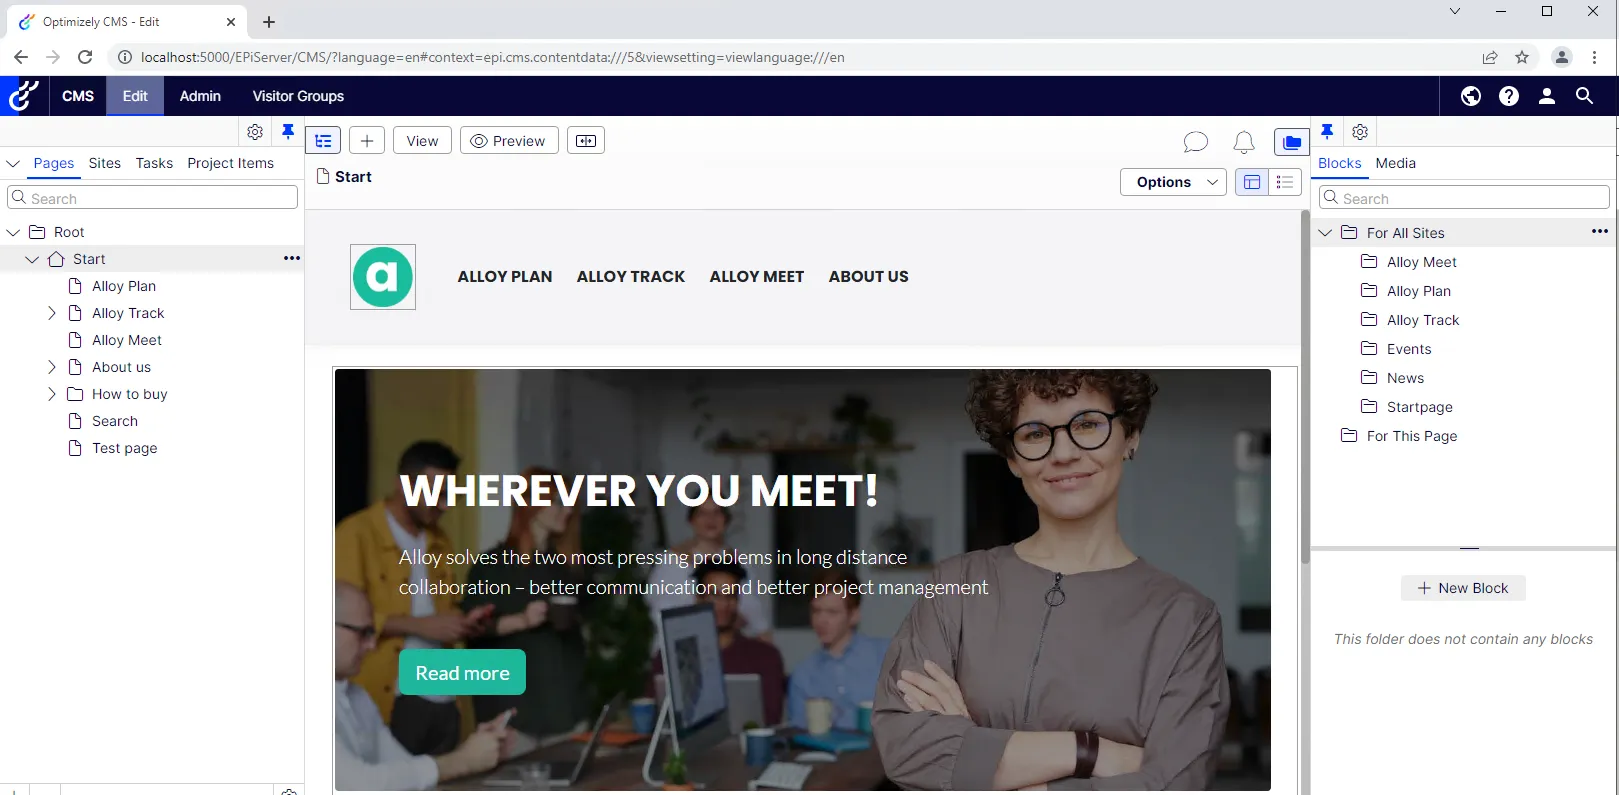
Once the site loads, there’s a login link in the bottom-right of the footer — or just append the path “/episerver/cms” to the URL to get to the login page. That will bring you to the CMS. First time in CMS 12? You’ll find it largely looks the same, but everything is quite a bit snappier. You’ll love it.
Troubleshooting
If the dotnet run command fails with an error about creating the database (“Cannot attach the file ’…\projectName\App_Data\alloy_cms12.mdf’ as database ‘alloy_cms12’.”) – you may need to change the permissions on your AppData folder. (I just added “Modify” rights to Users — right click the folder > Properties > Security > click Edit > select Users > check “Modify”. Then apply the changes.)
Additional options
- Not on Windows? It also supports Docker. (I haven’t tried it yet, my laptop can’t handle Docker.)
- Want to set the database SA password? Use the “—sa-password” option.
More info on those options can be found via the help command, or by checking out the project readme:
PS F:\code\_TESTING> dotnet new epi-alloy-mvc --help
Optimizely Alloy MVC (C#)
Author: Episerver AB
Description: Example MVC application for testing and learning Optimizely CMS.
Options:
  --enable-docker  Enable Docker support
                   bool - Optional
                   Default: false

  --sa-password    The password the SA database account should have
                   string - Optional
                   Default: Qwerty12345!
Thanks for reading, and enjoy Alloy on CMS12!
Resources
- The templates can be found here: https://github.com/episerver/content-templates
- The template (nuget) package can be found here: https://www.nuget.org/packages/EPiServer.Templates/